Assembly & Installation Instructions for the Aluminum Frame of 35 mm
Necessary tools for assembling and installing
Supplied materials (included):
- 4 extrusions
- 4 connectors for corners
- Mounting bracket(s)
- 1 Allen key
- 1 fabric print
Other necessary tools (not included):
- Drill
- Screwdriver
- Screws adapted to your wall
- Plastic anchors (for gypsum wall)

Assembly
Assembling the frame:
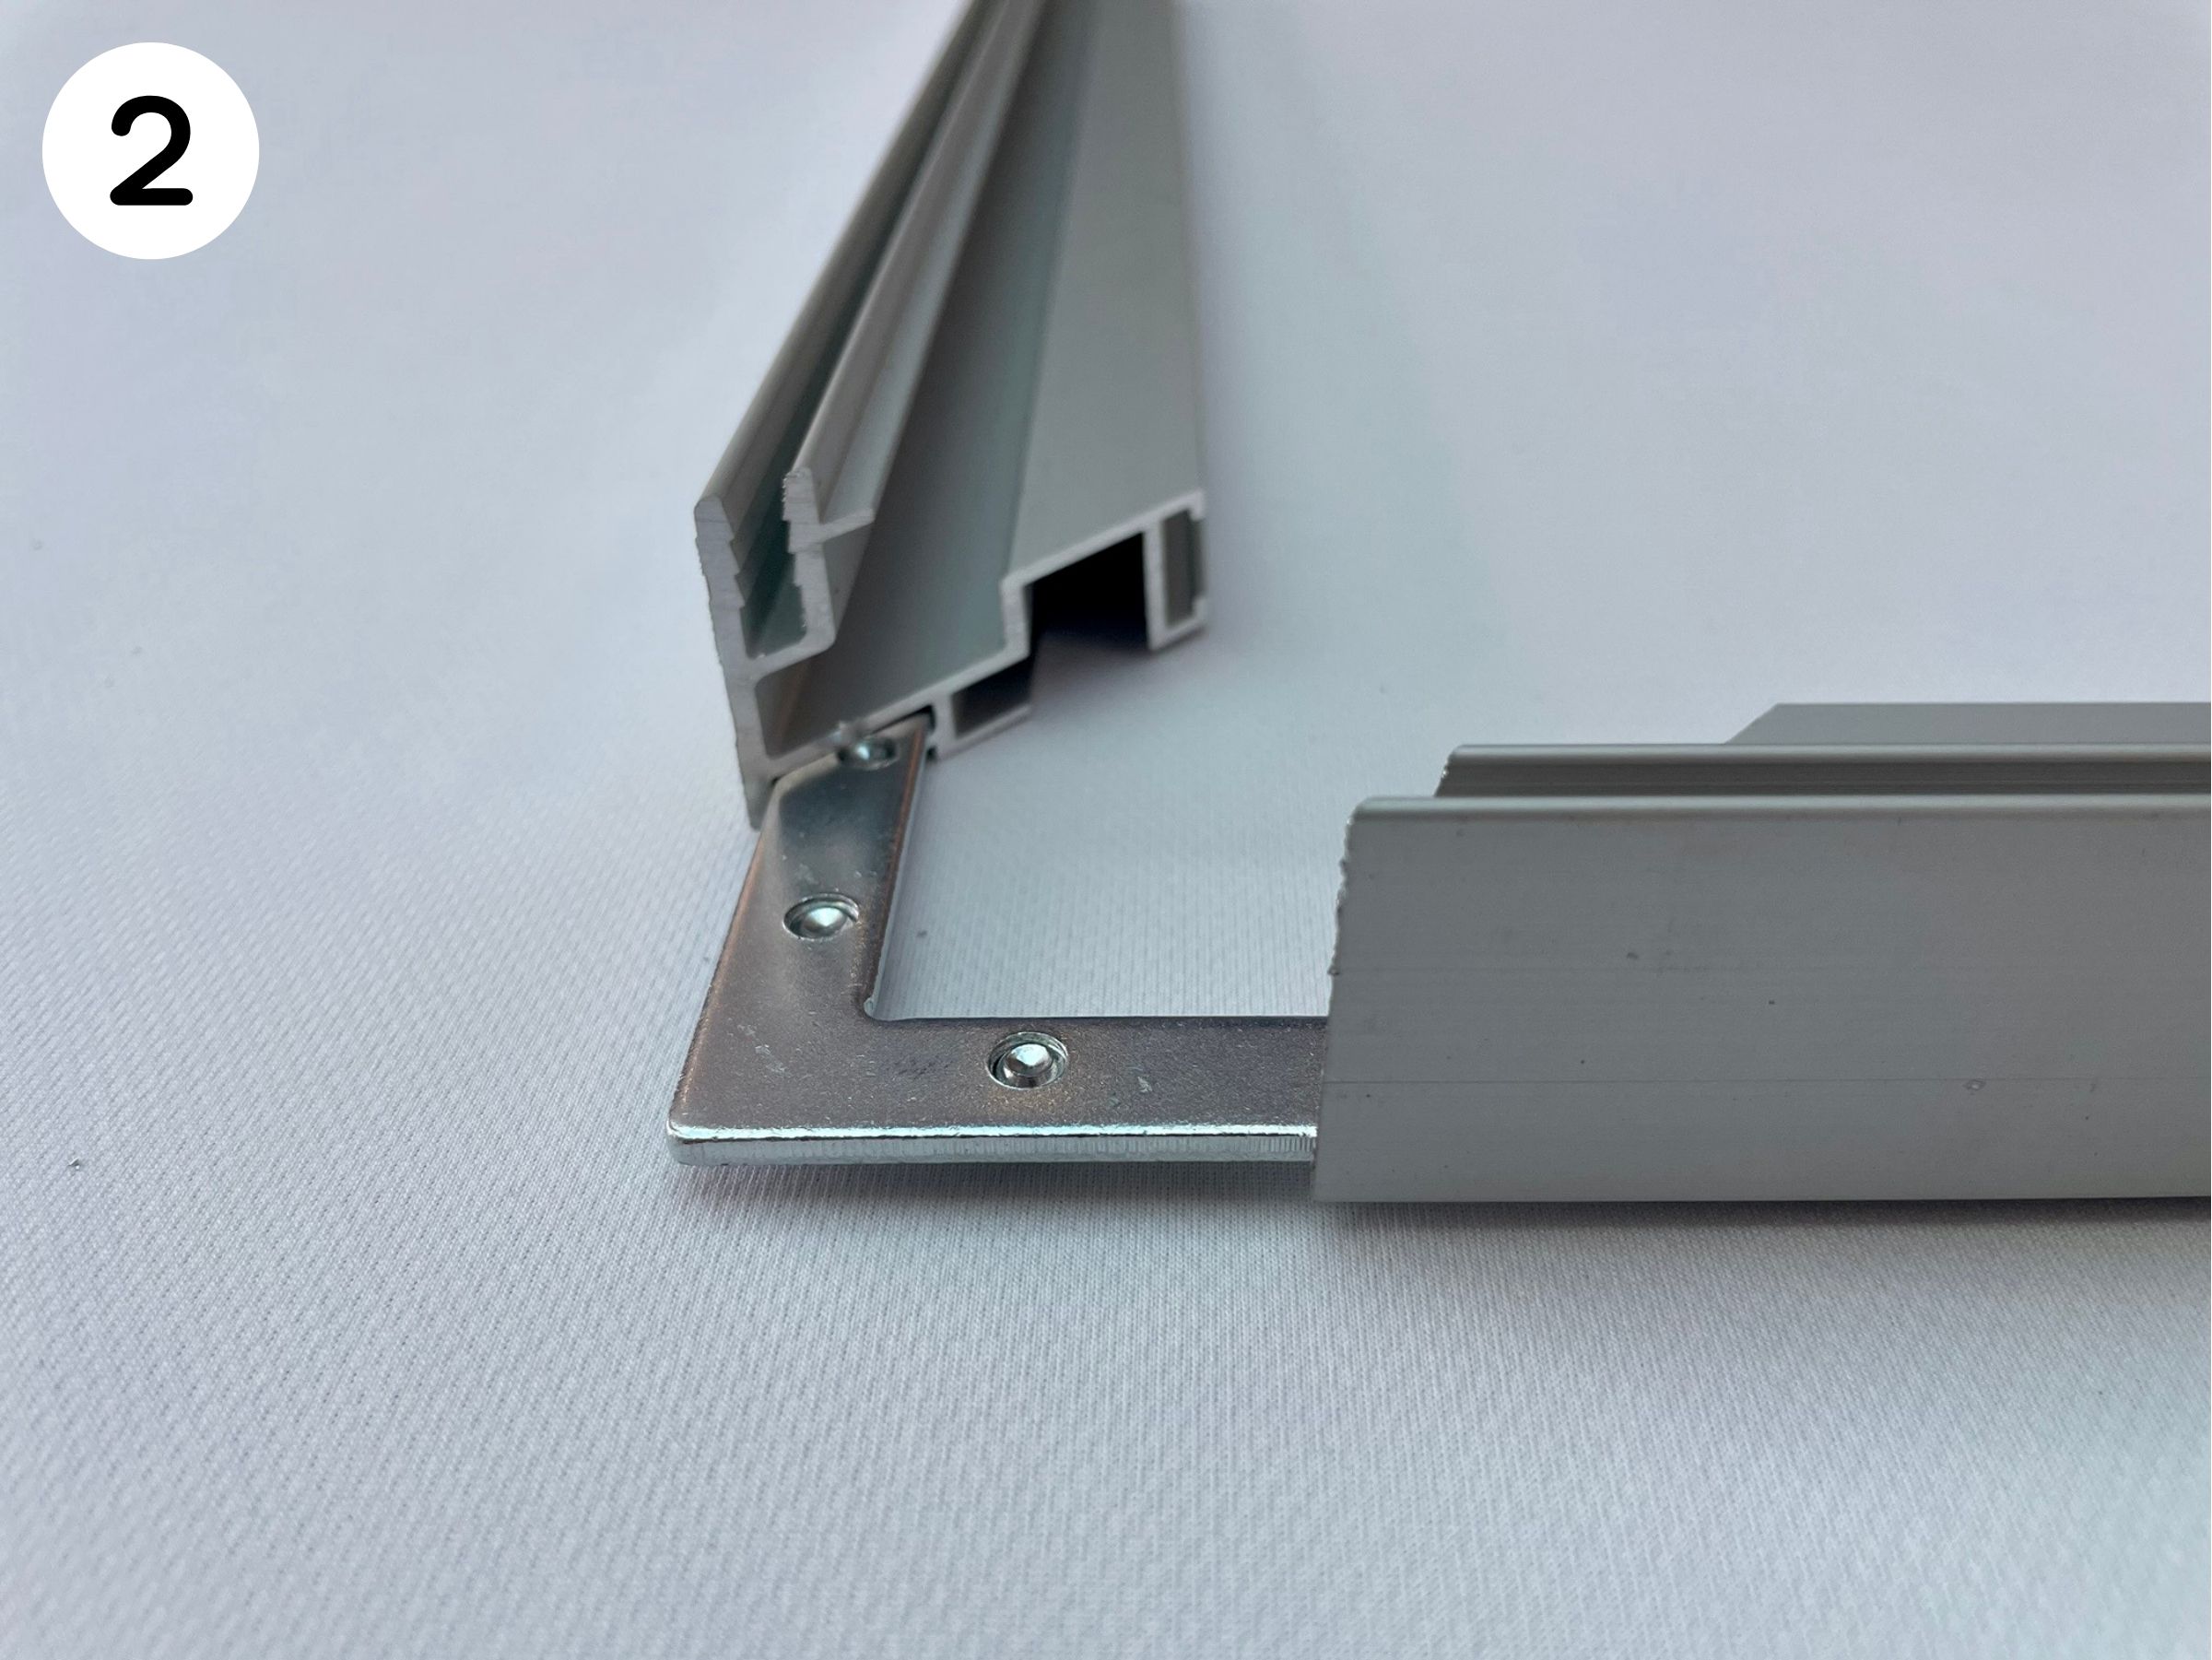
- Position flat on a table the four extrusions of the frame’s sides in order to form the frame.
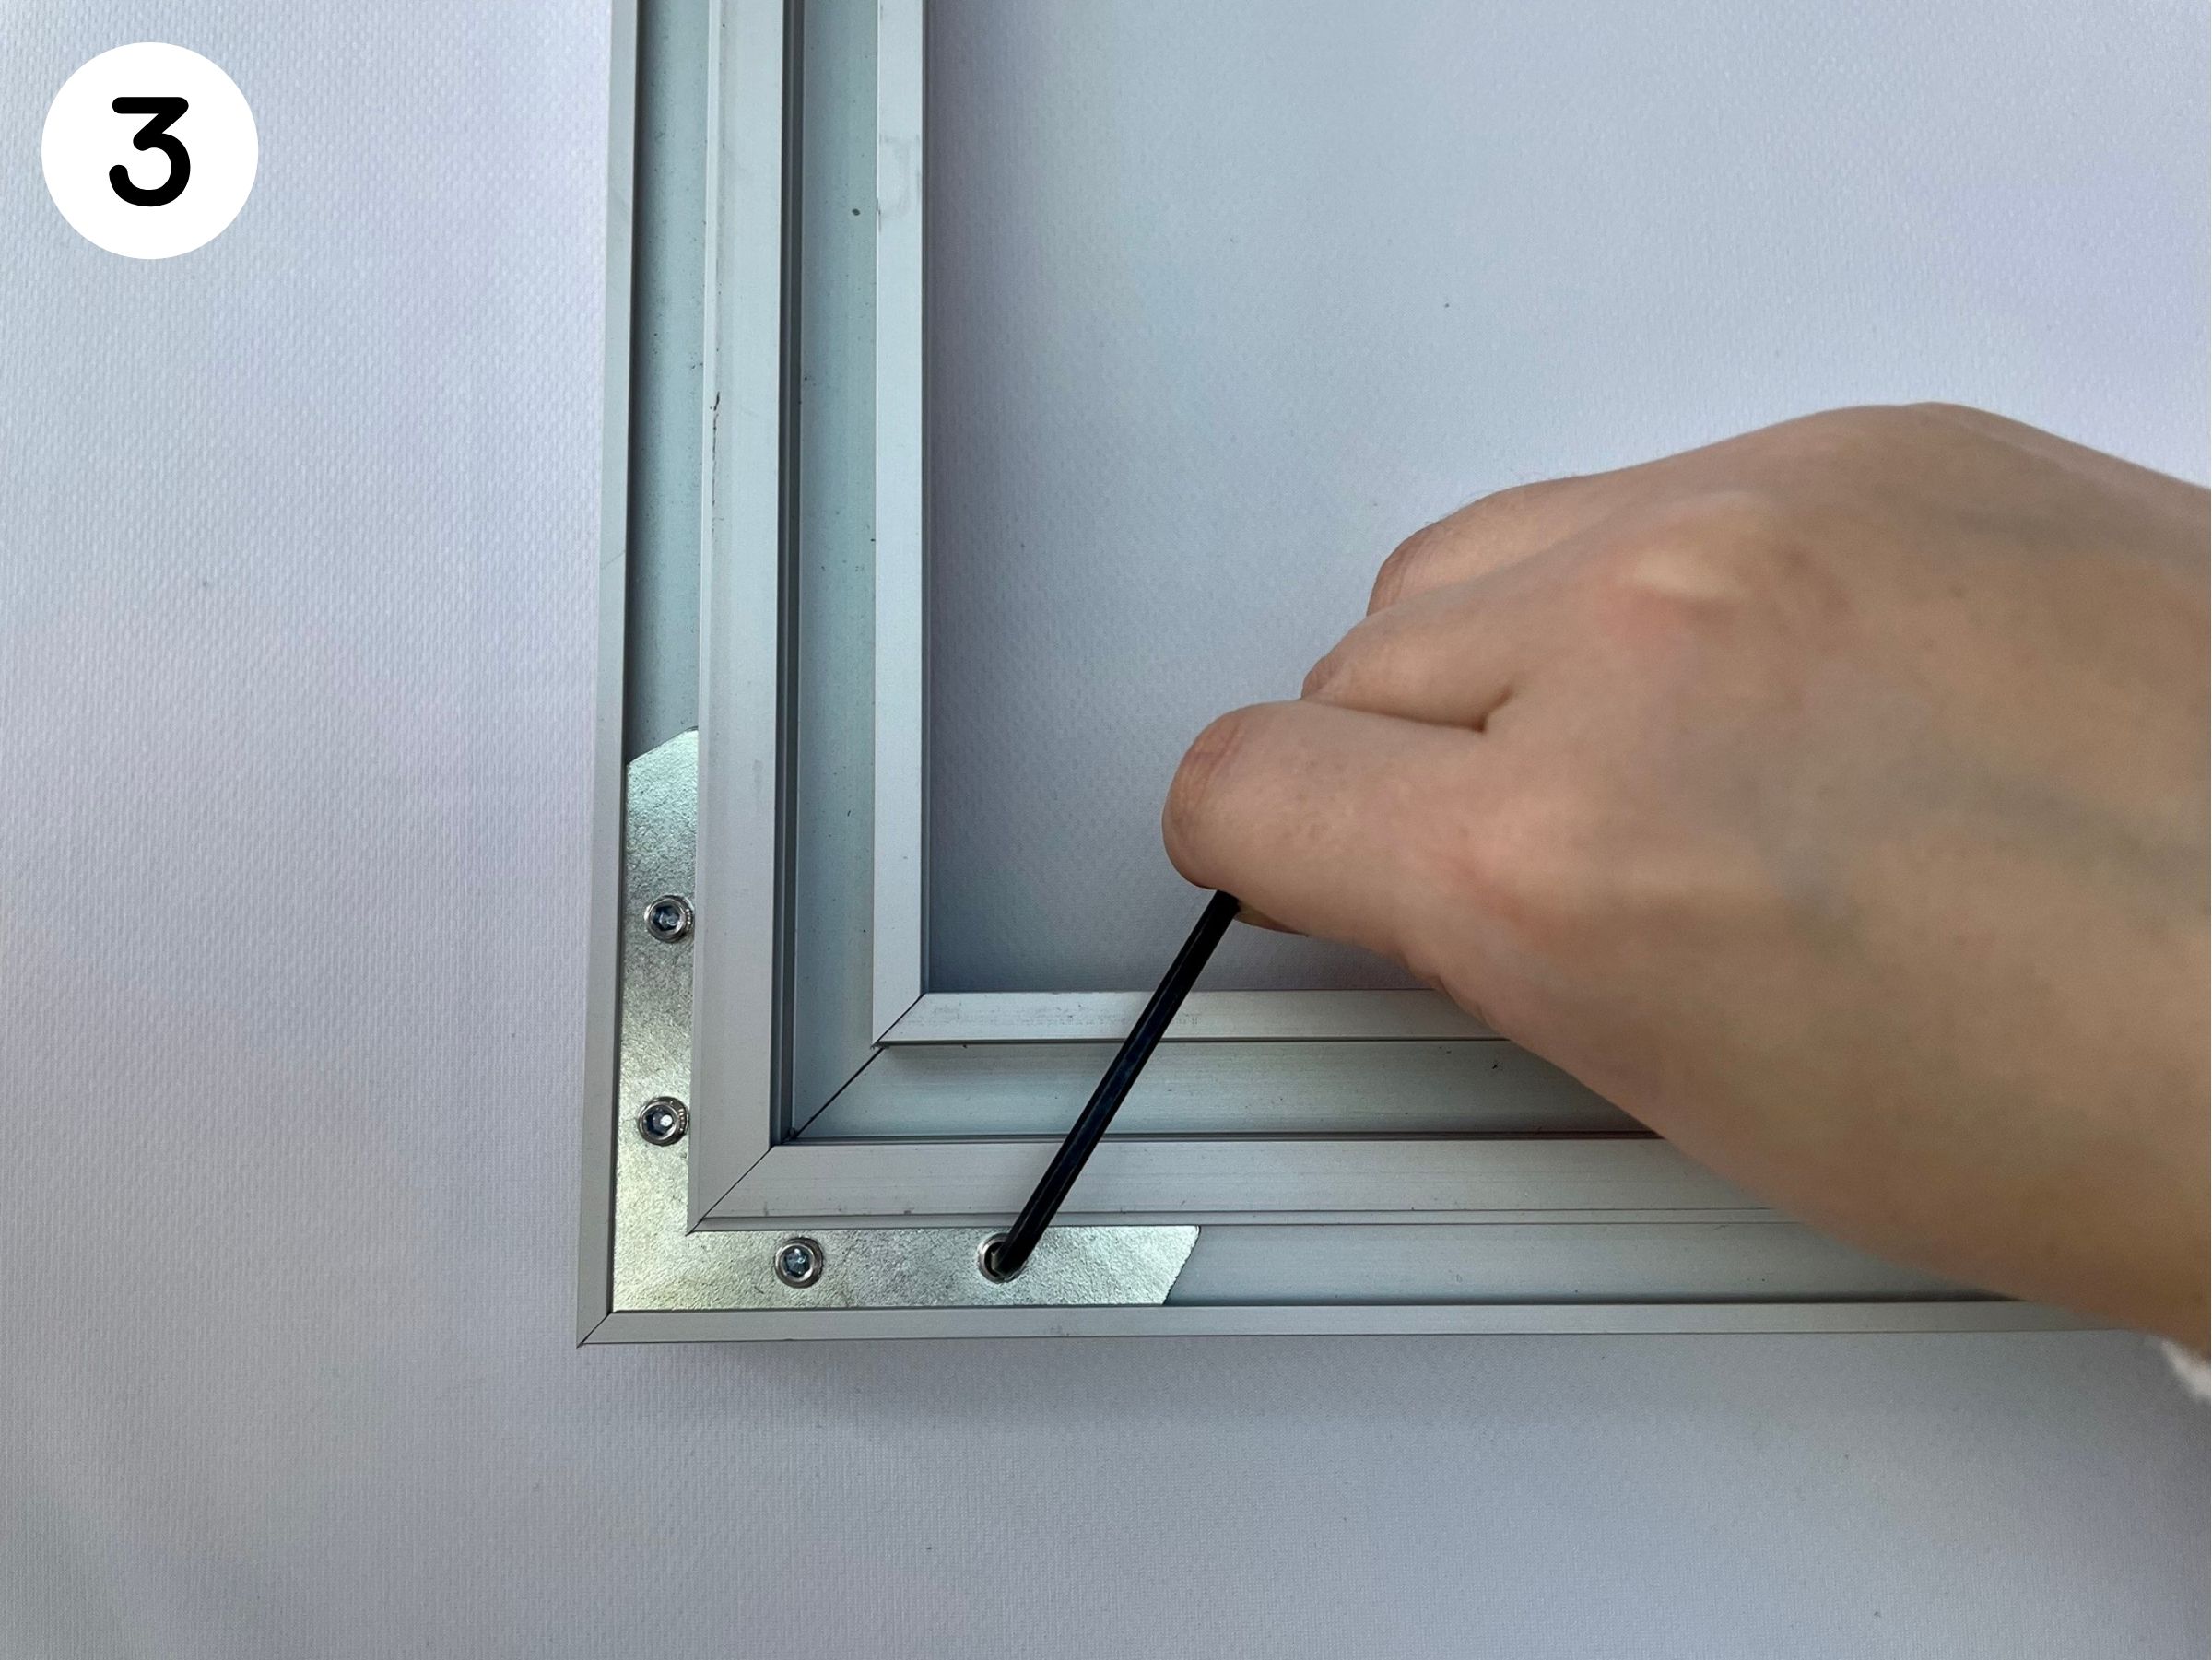
- Insert one connectors at each corner, by sliding it into the groove of the extrusion.
- Assemble all the frame, then securely screw each junction using the Allen key.

Installation
Installing the frame on the wall:
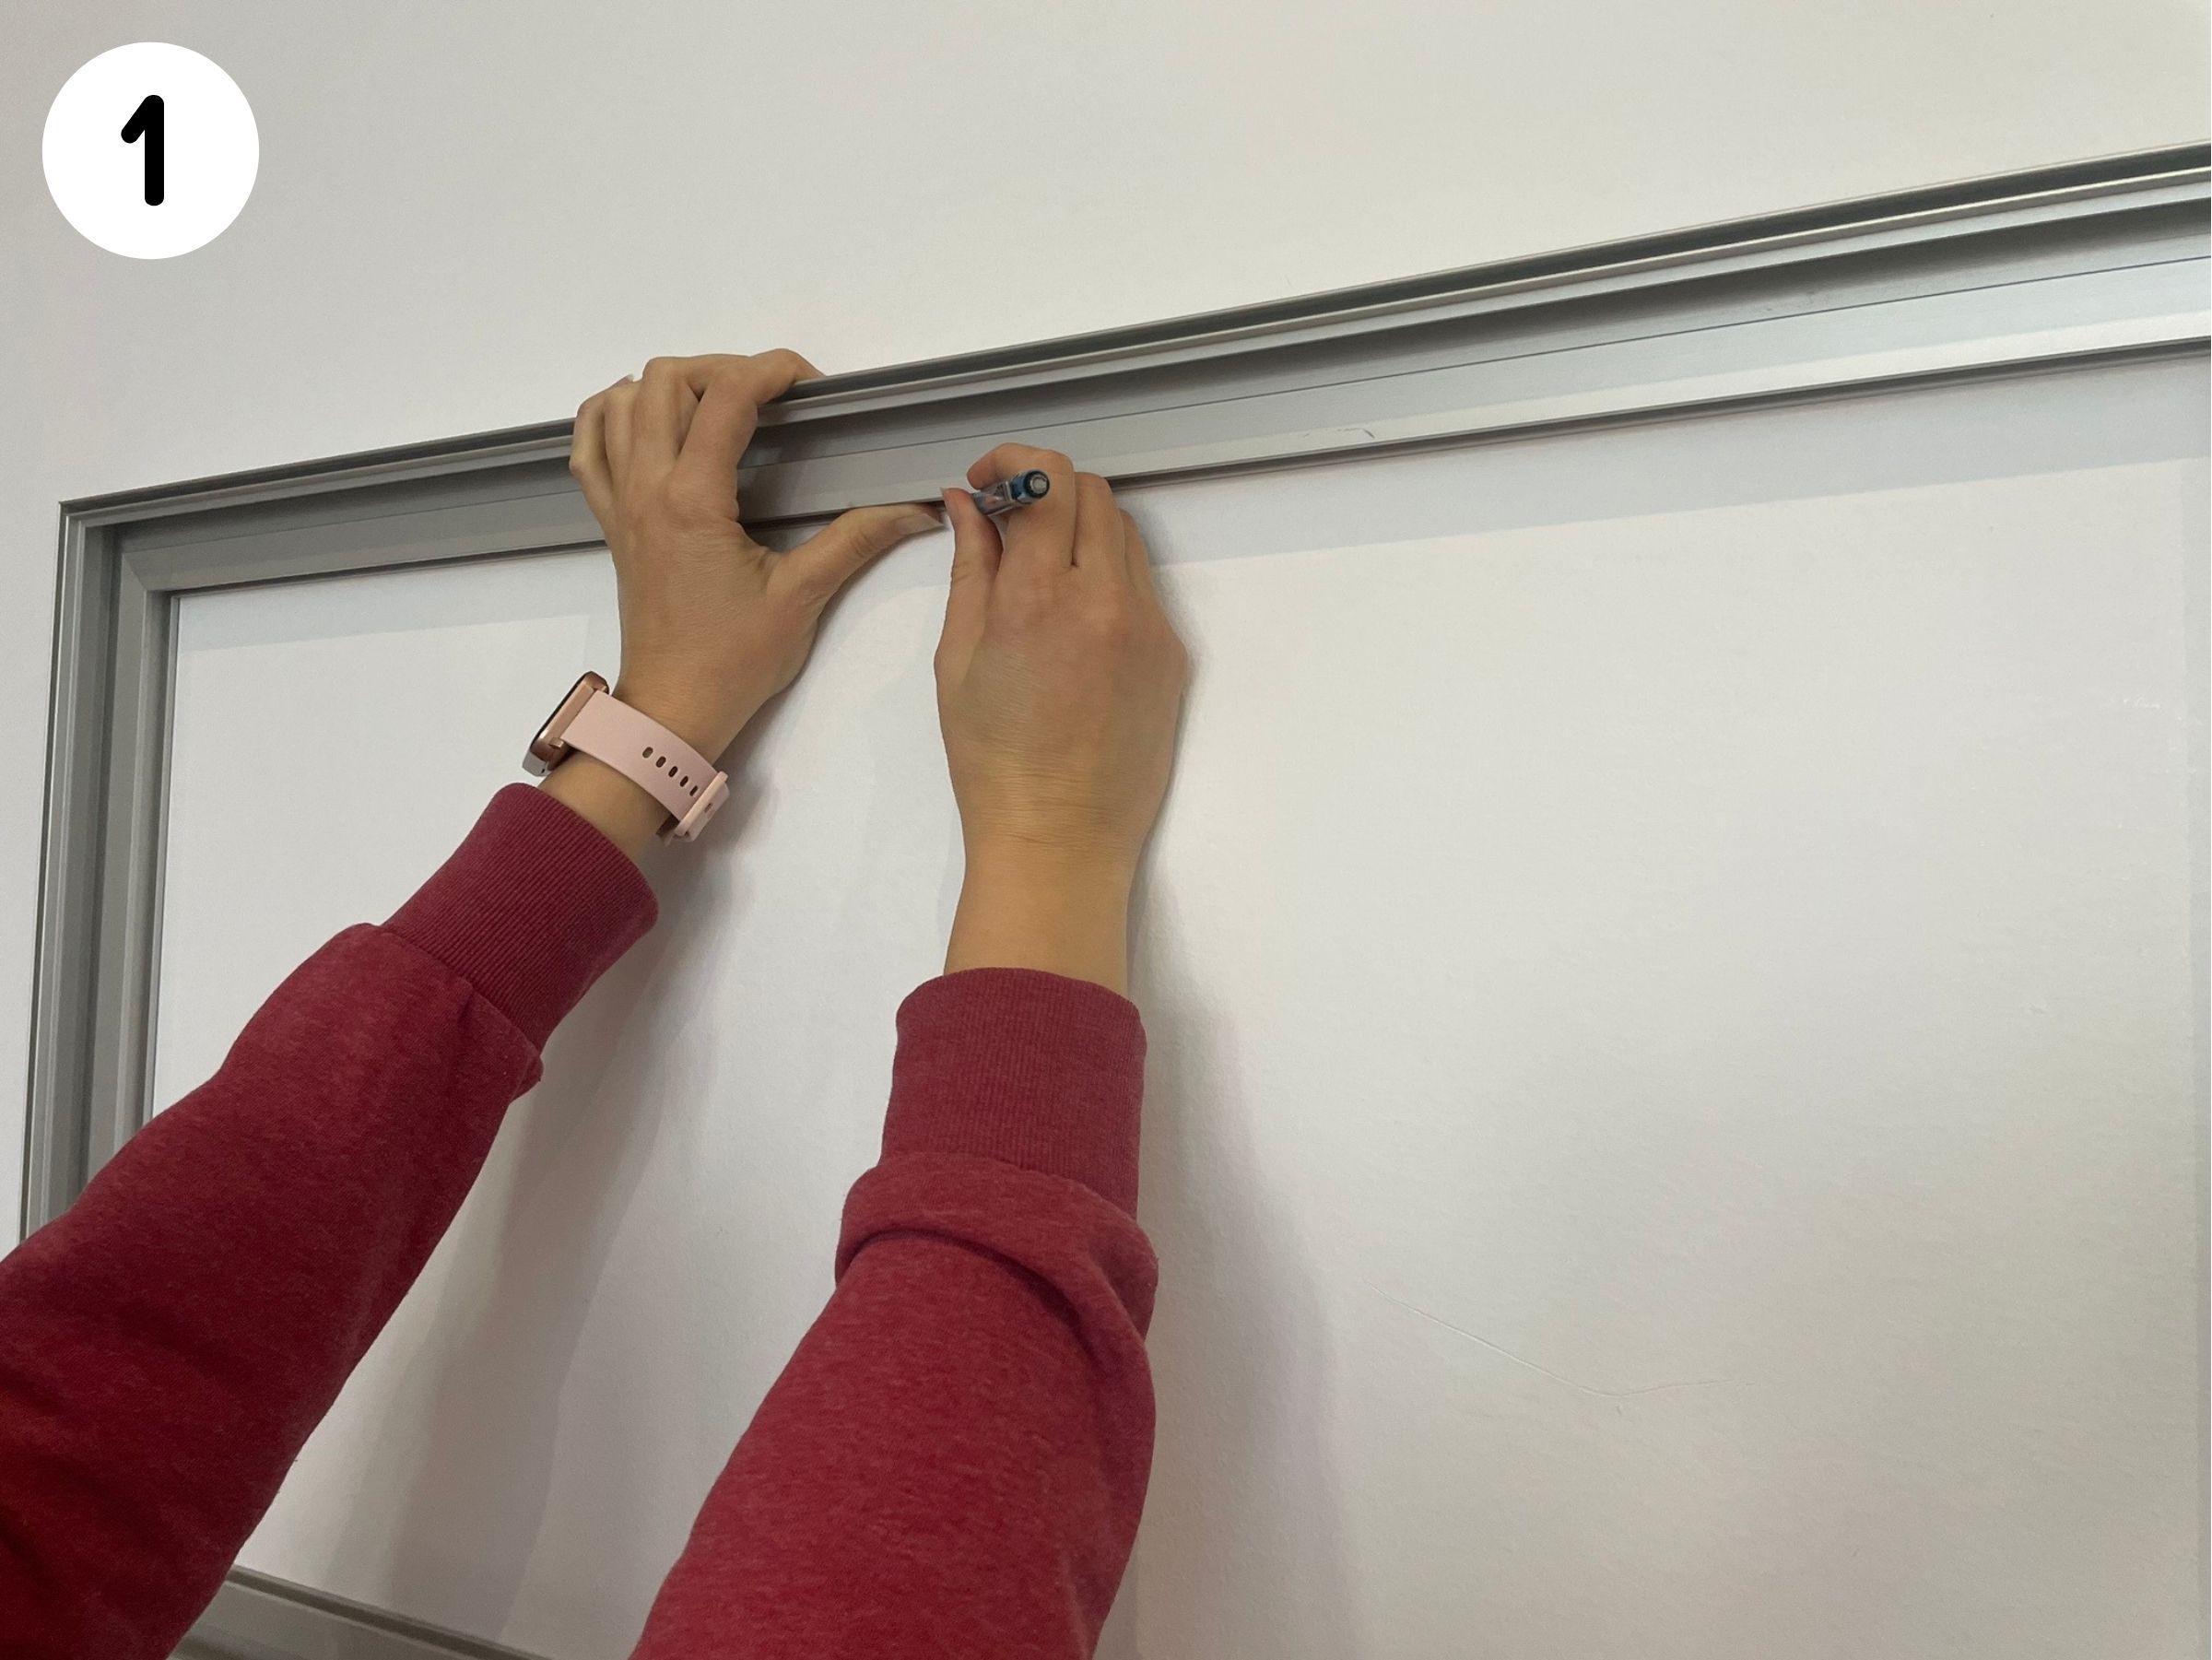
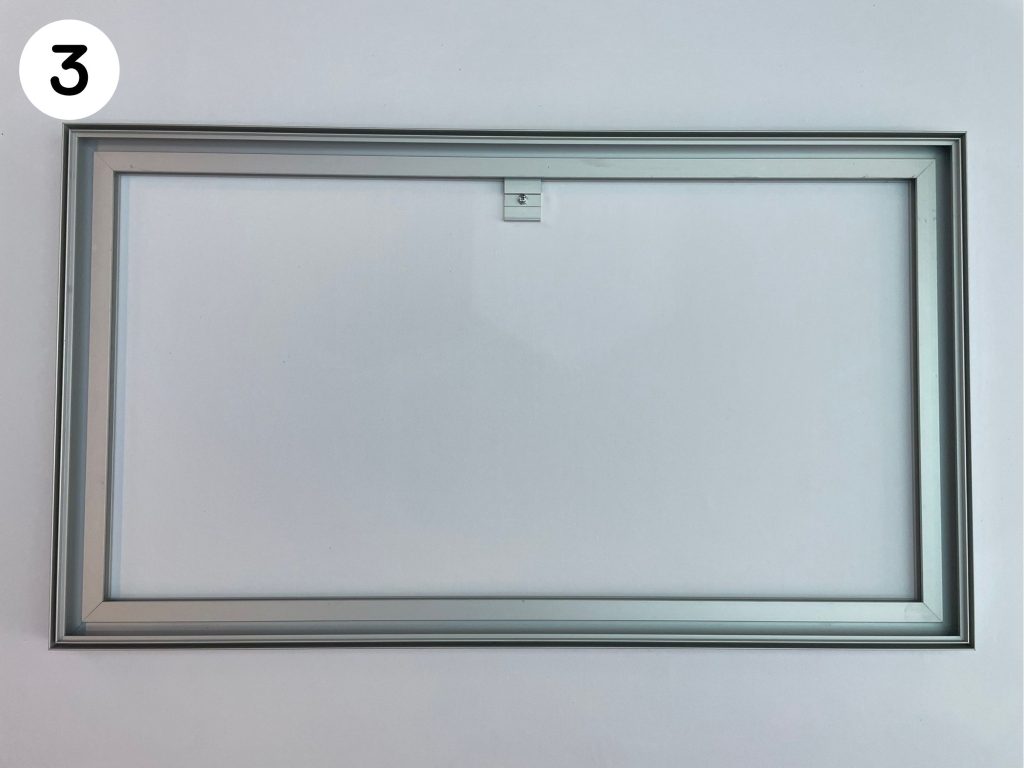
- Place the frame against the wall and note where you want the bracket(s) to be on the wall. Position the bracket(s) evenly to ensure a well-distributed mounting system to support the weight and position of the frame securely onto the wall.
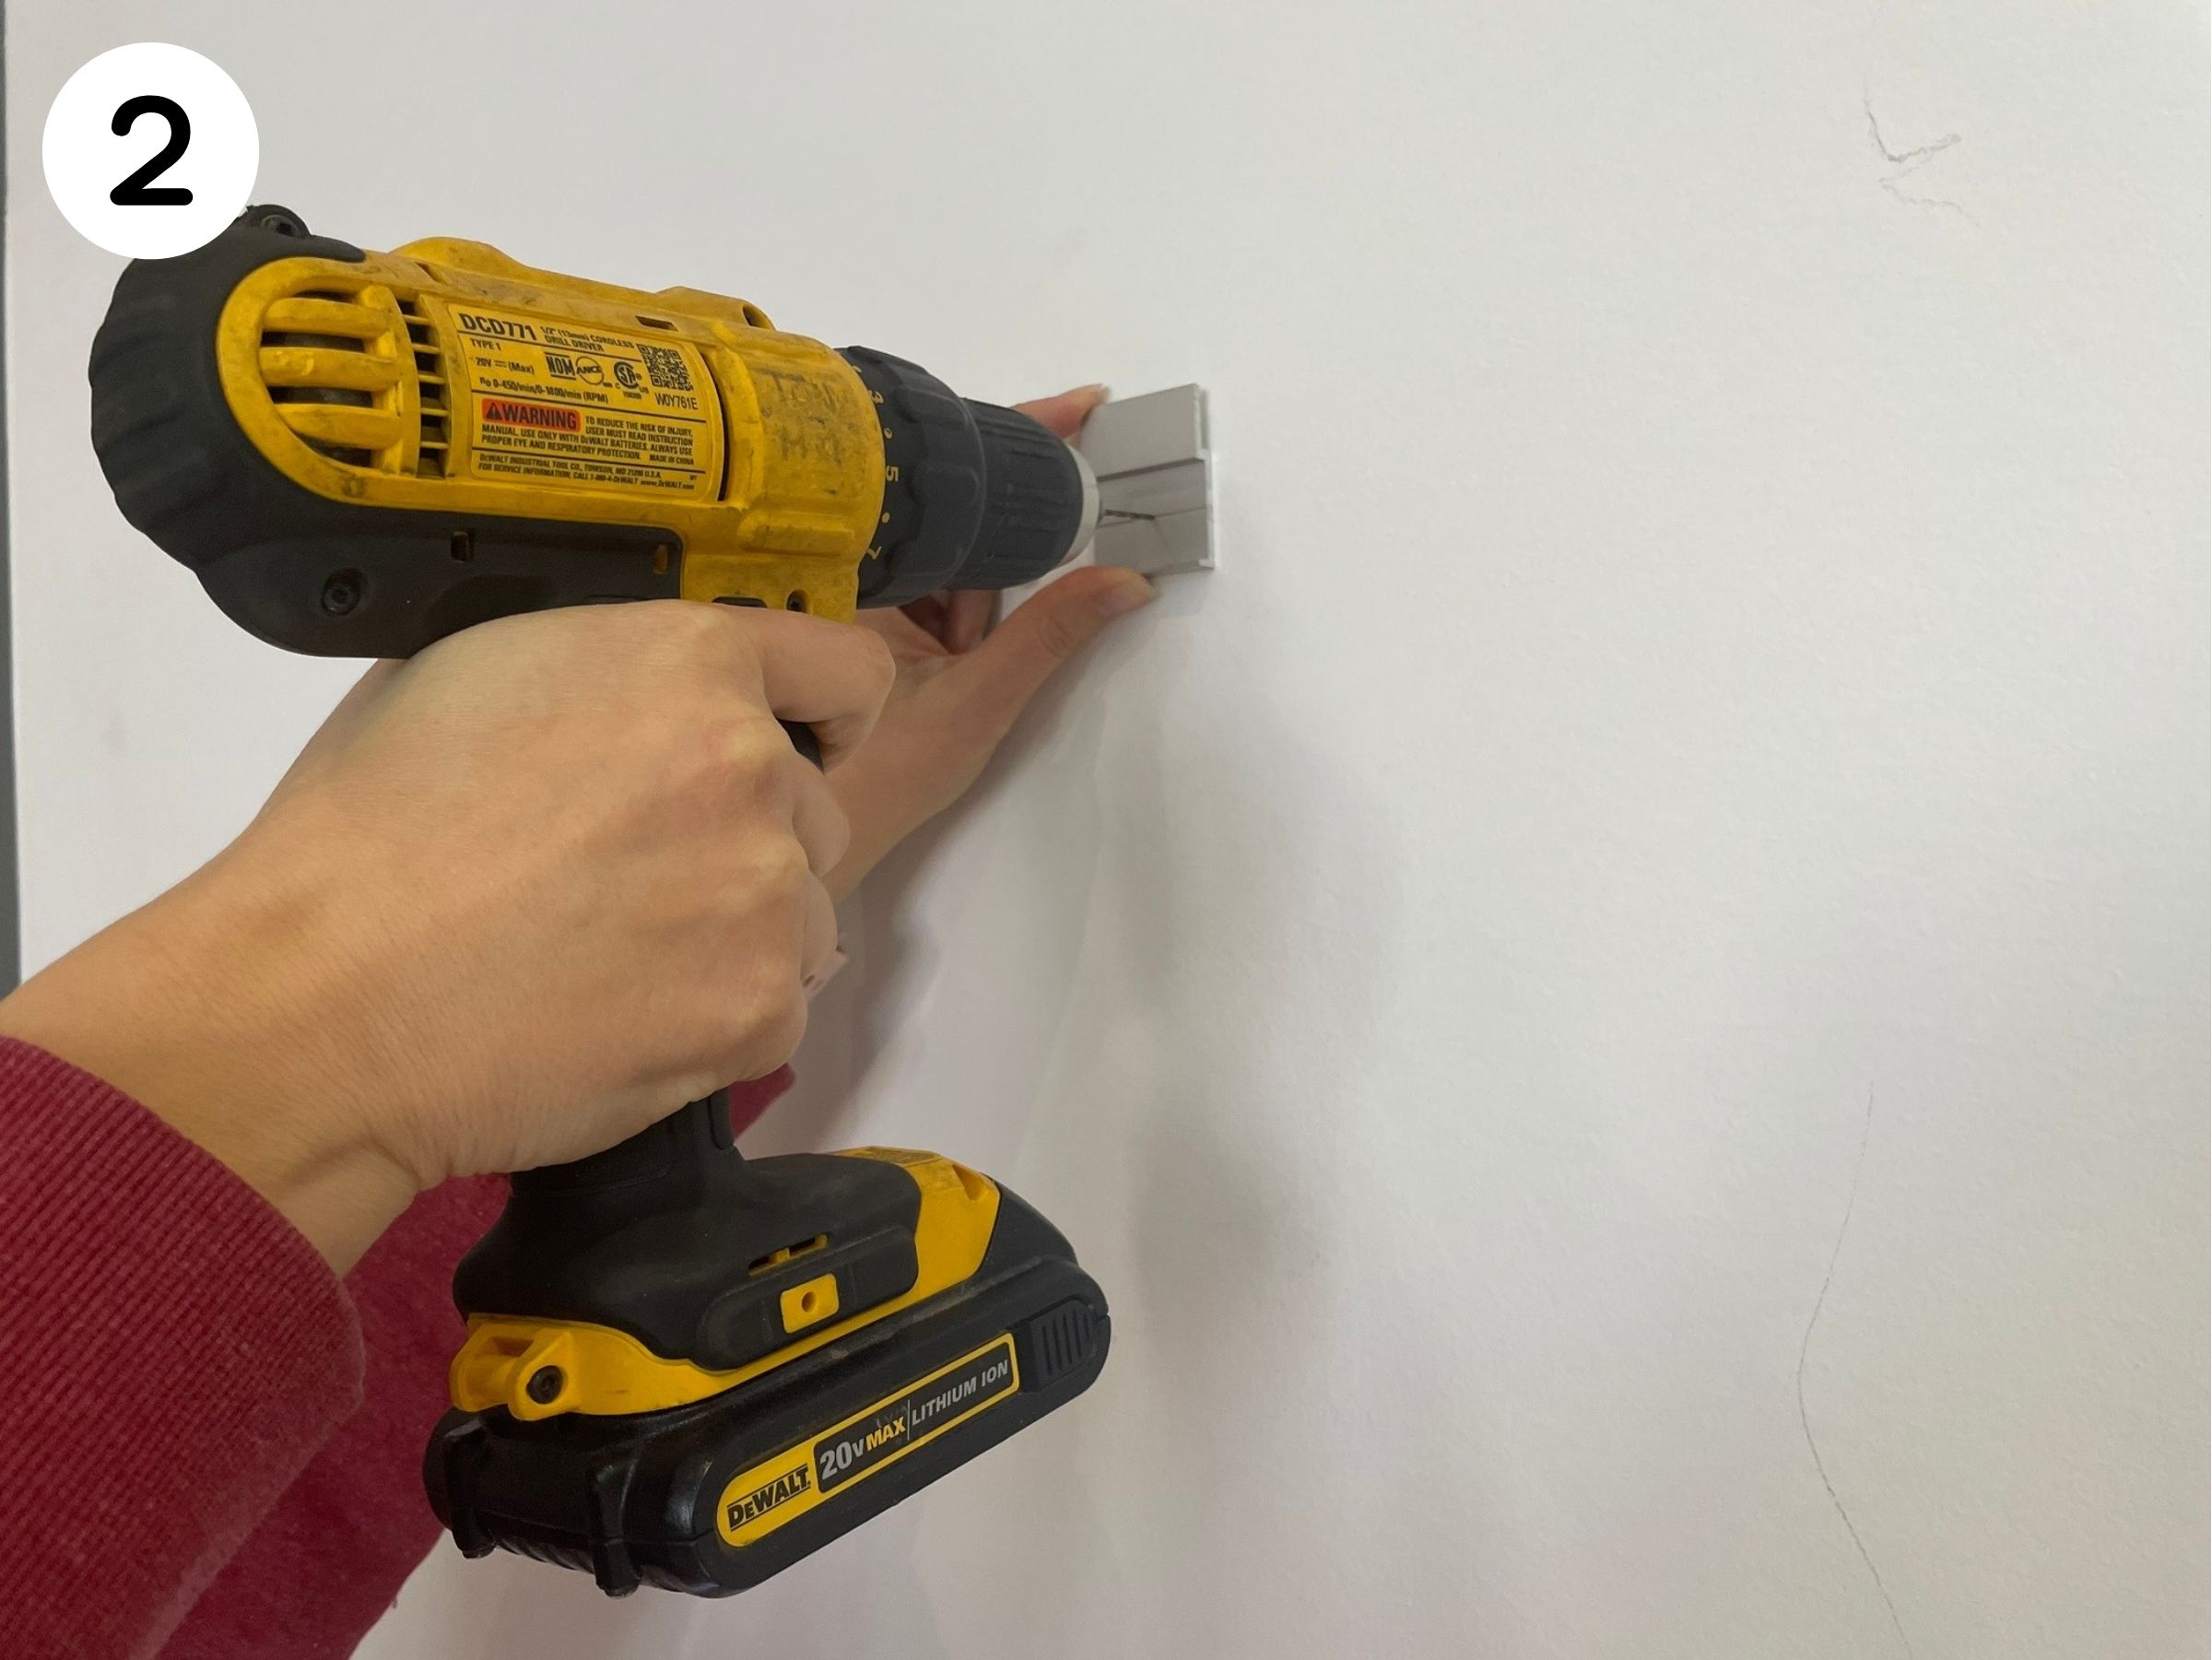
- Attach the bracket(s) onto the wall by fastening the screws adapted to your wall. For a gypsum wall, we suggest to use plastic anchors before fastening the screws to secure the frame to the wall.
- Hang the frame on the bracket(s). Make sure that the bracket(s) slide(s) into the slot of the frame.
Fabric Print
Mounting the fabric print in the frame:
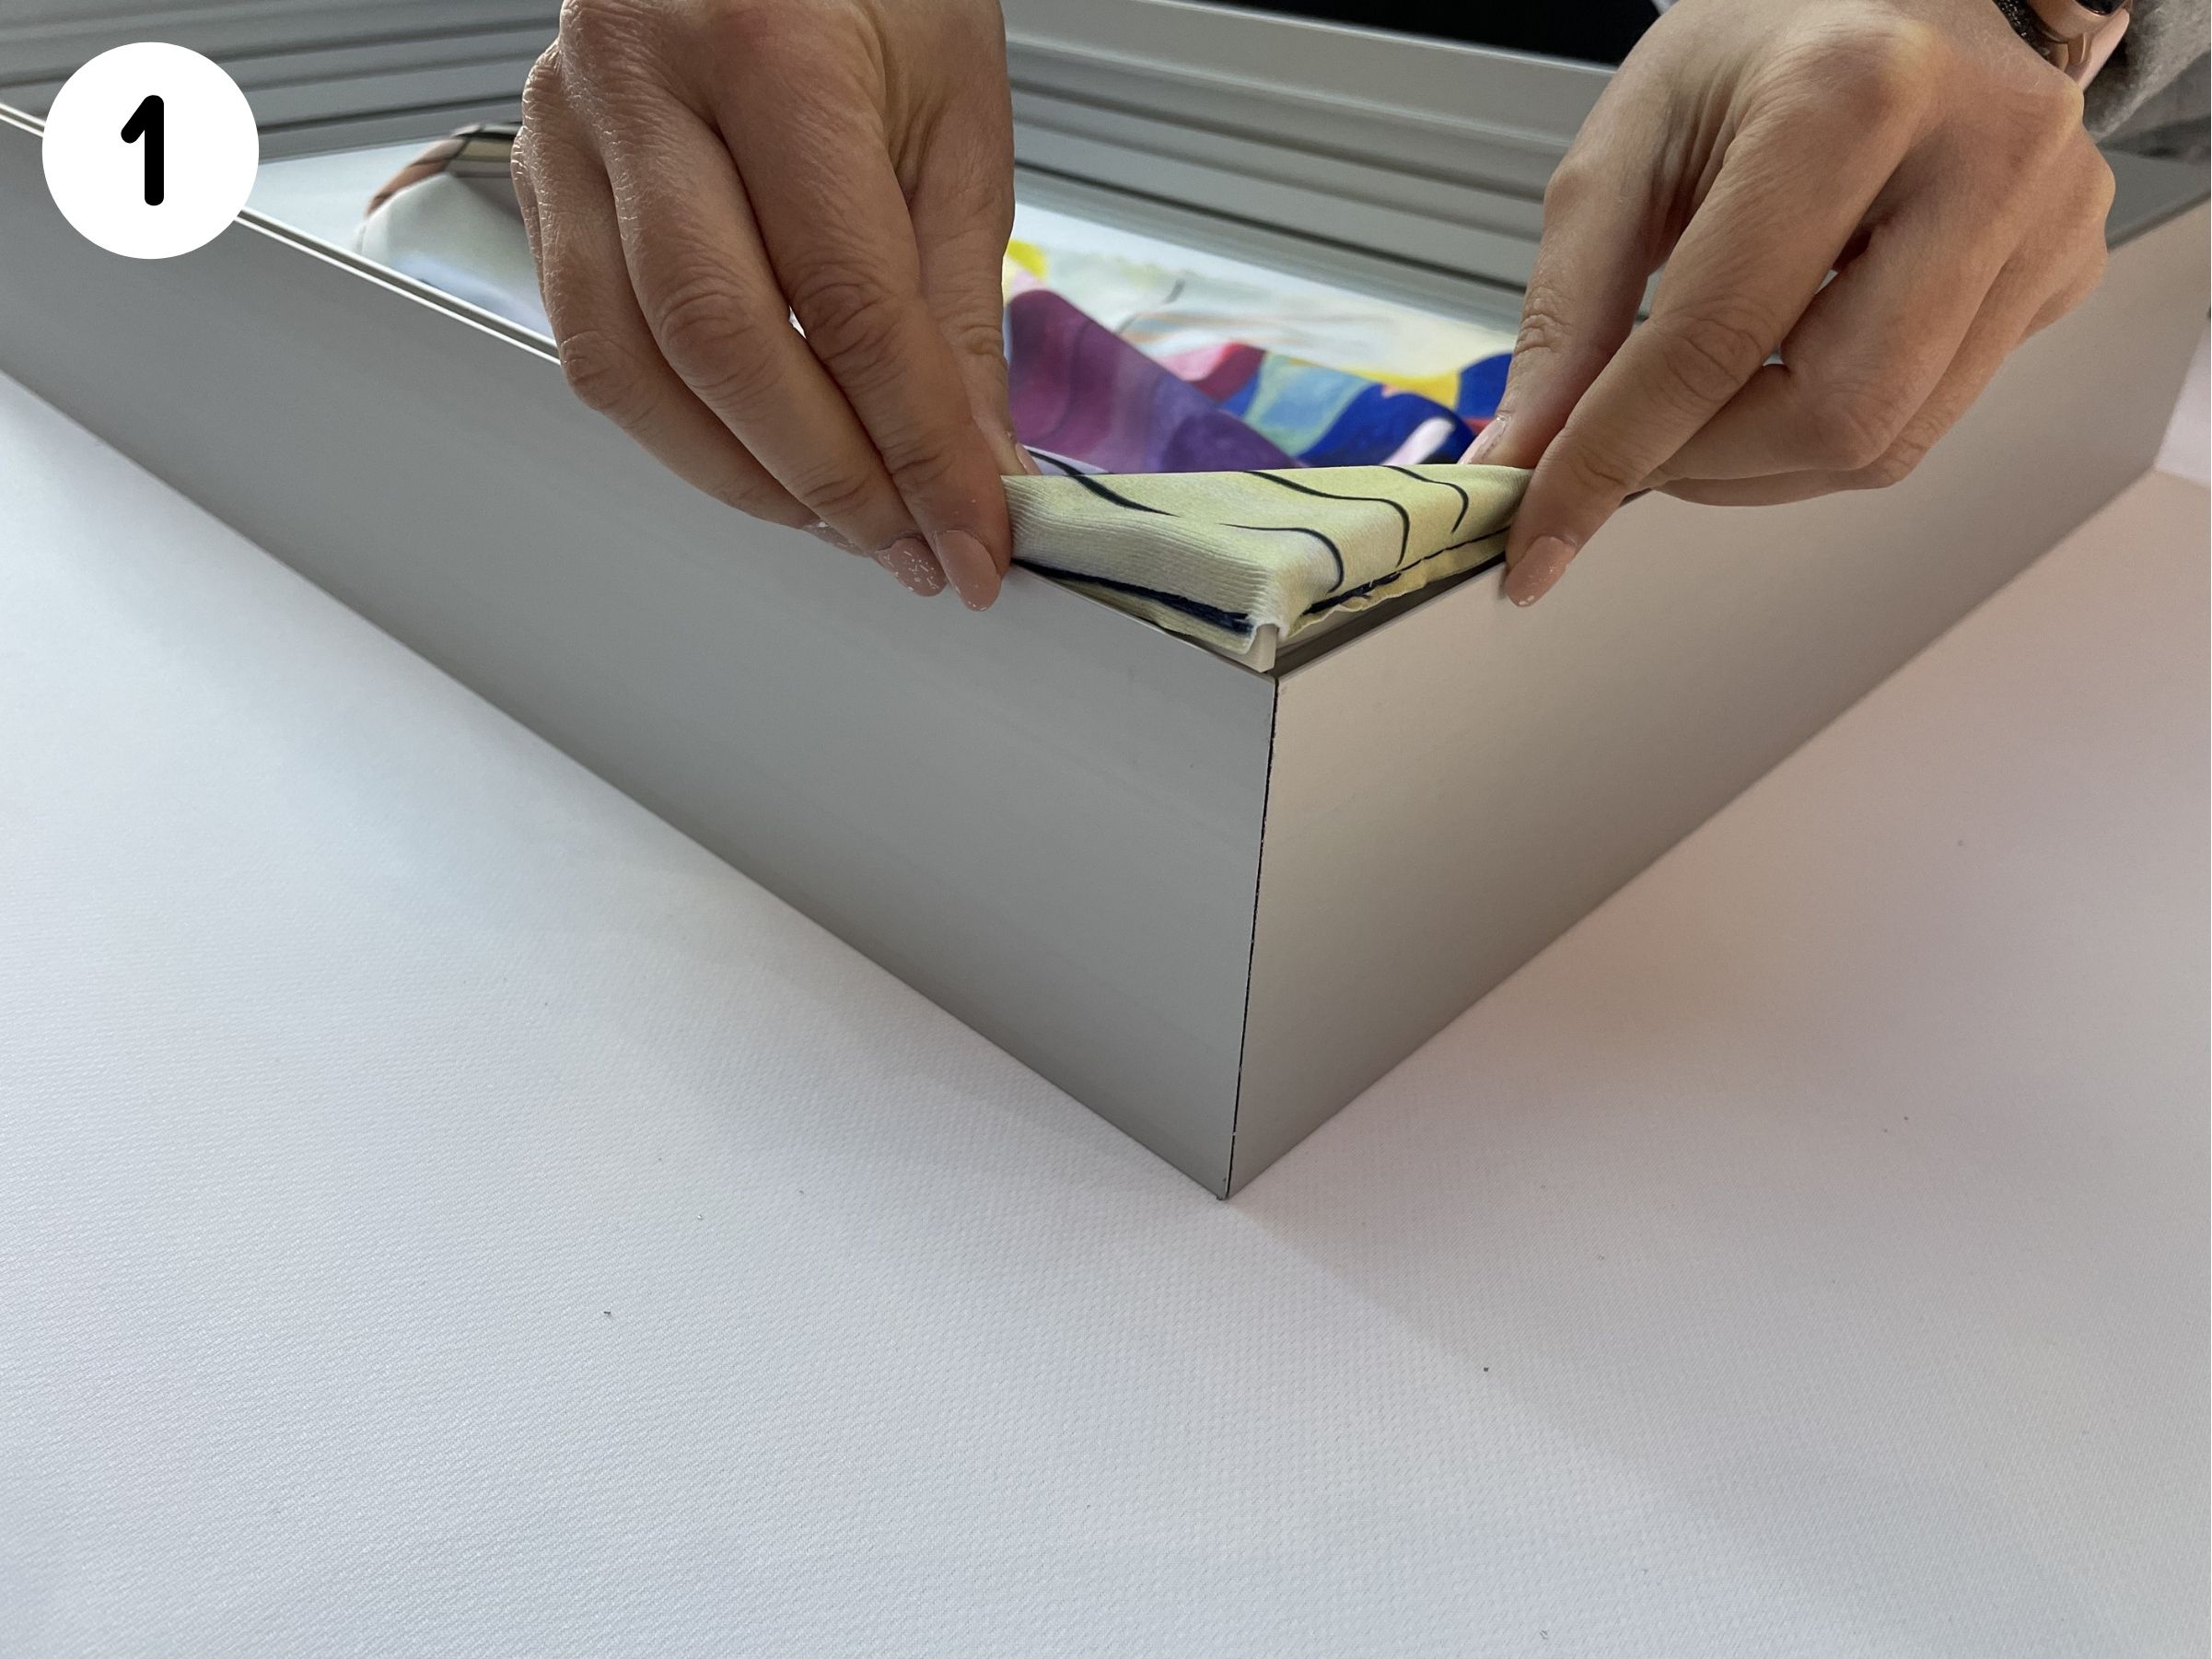
- Take one corner of the fabric print and insert the silicone edge trim into the slot of the frame. Put this way each corner of the fabric print in the frame.
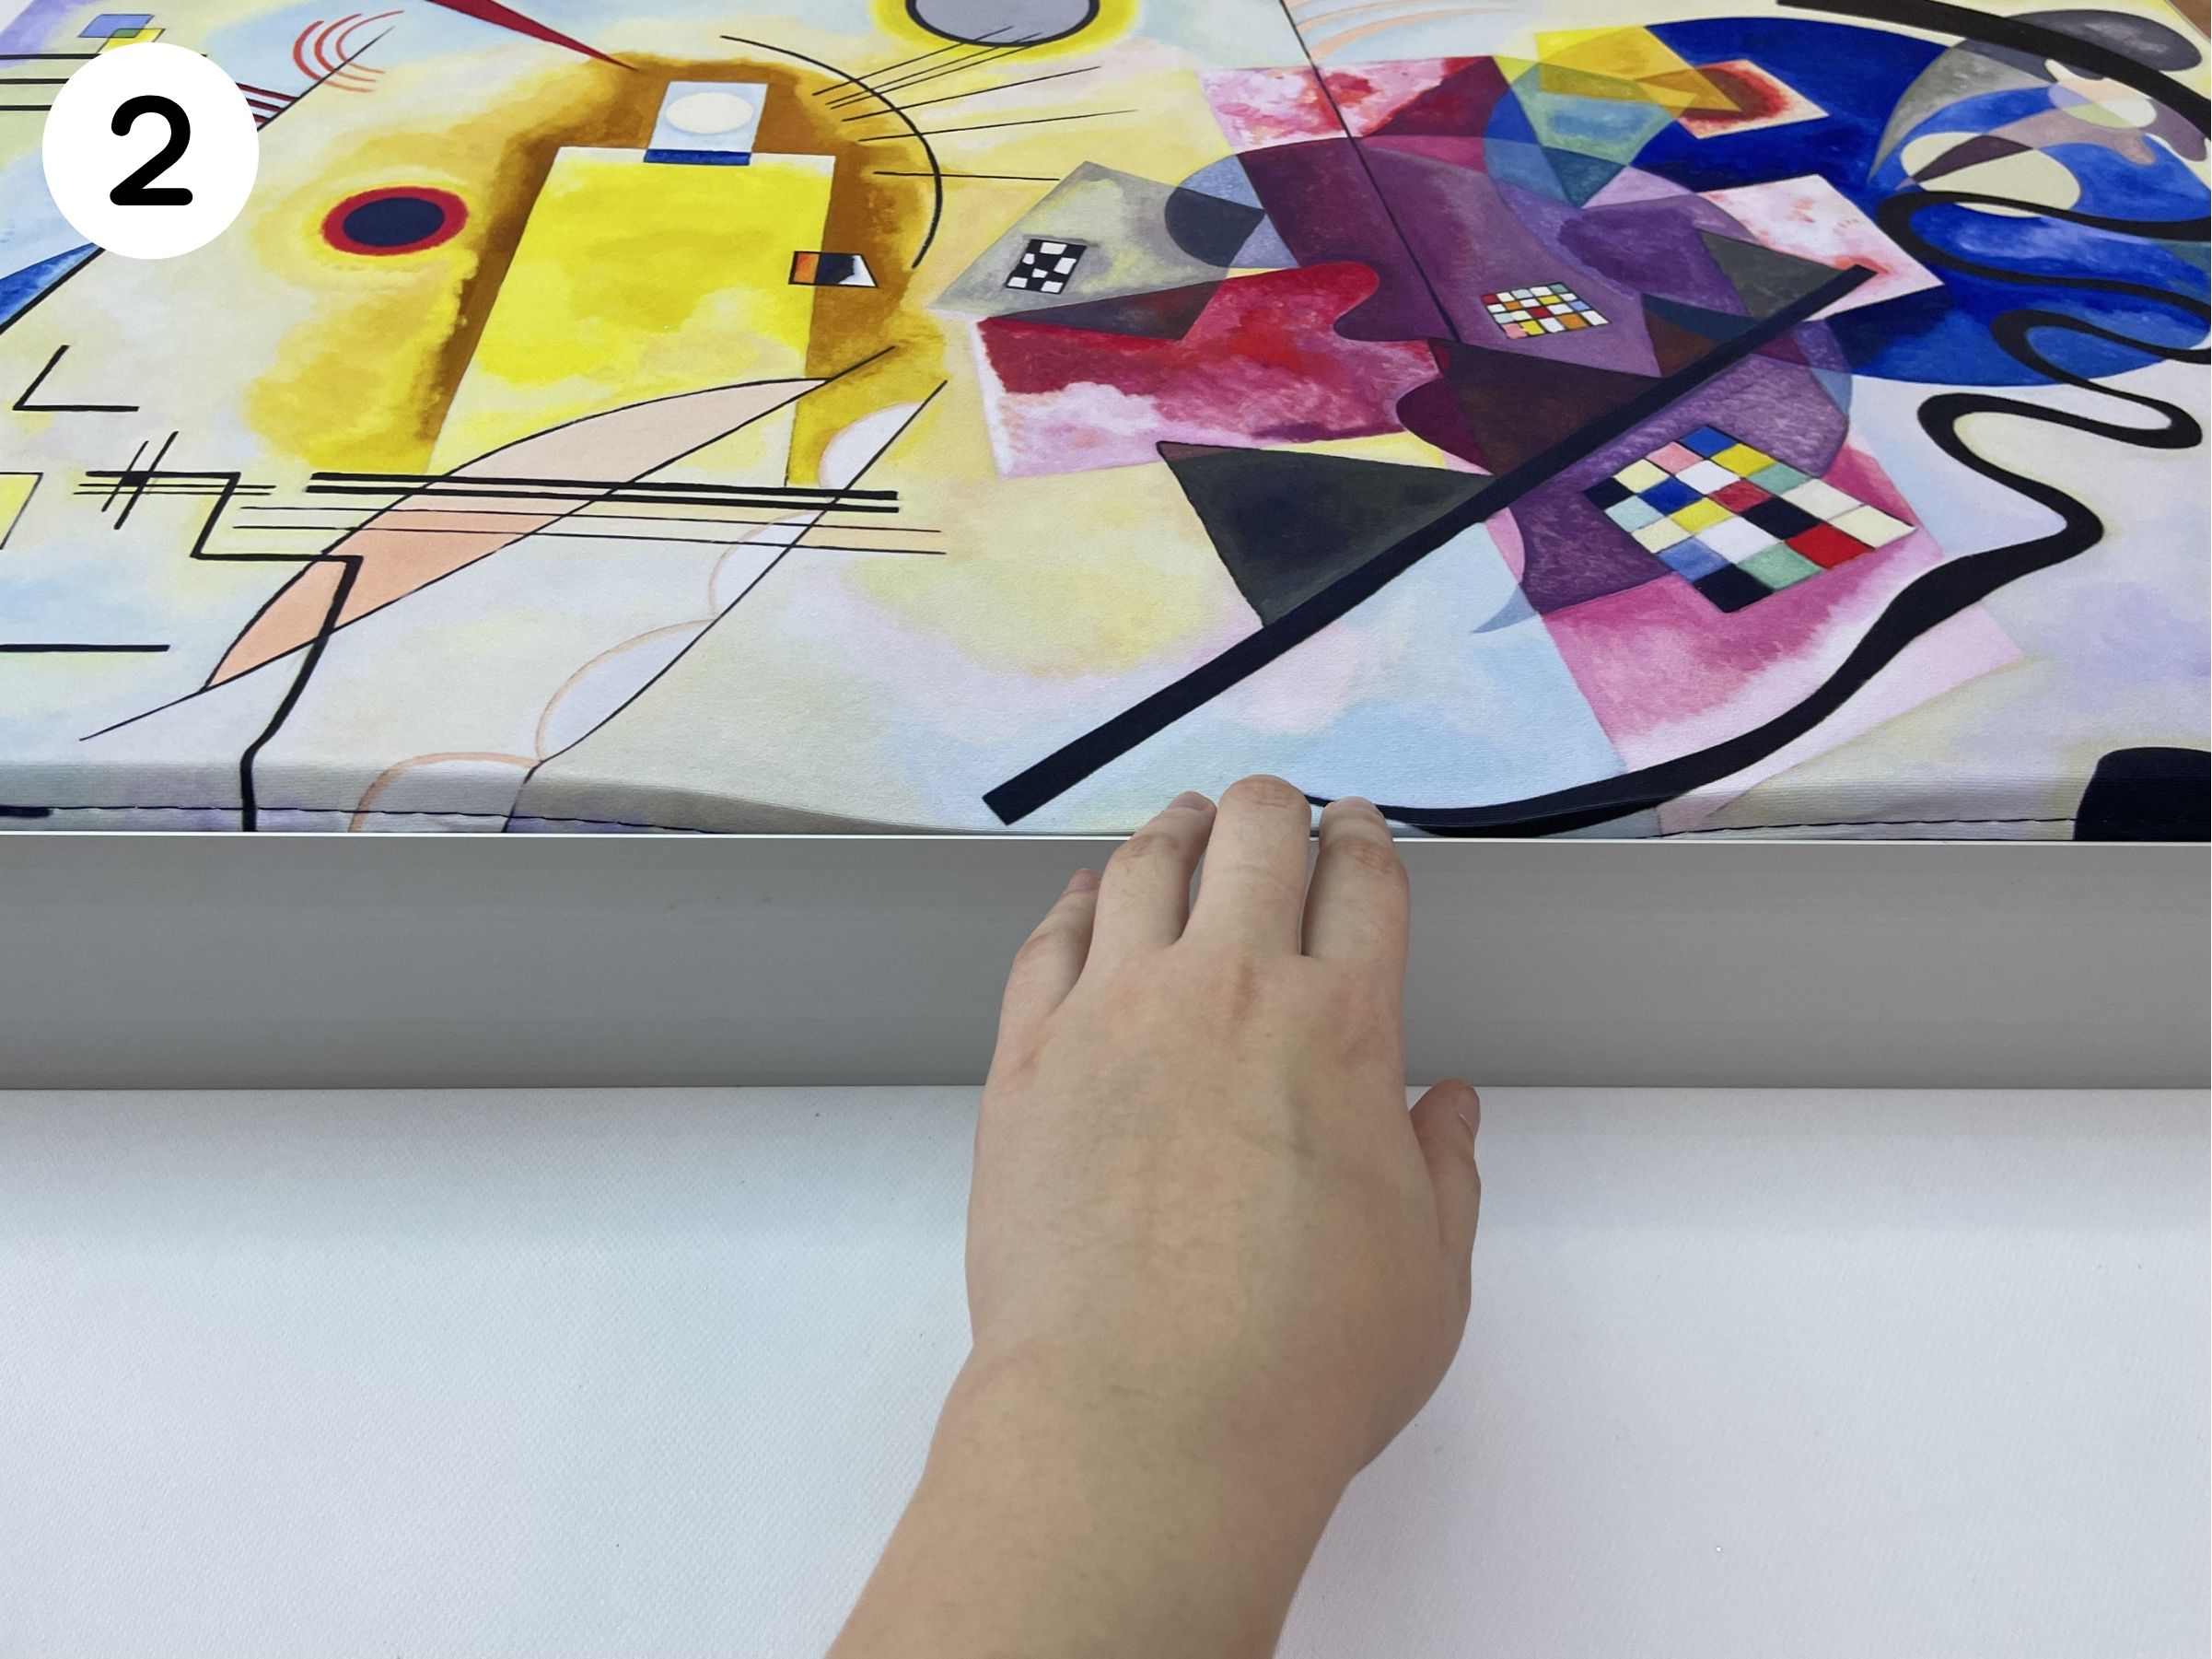
- Push in the central part of the silicone edge trim on each of the four sides.
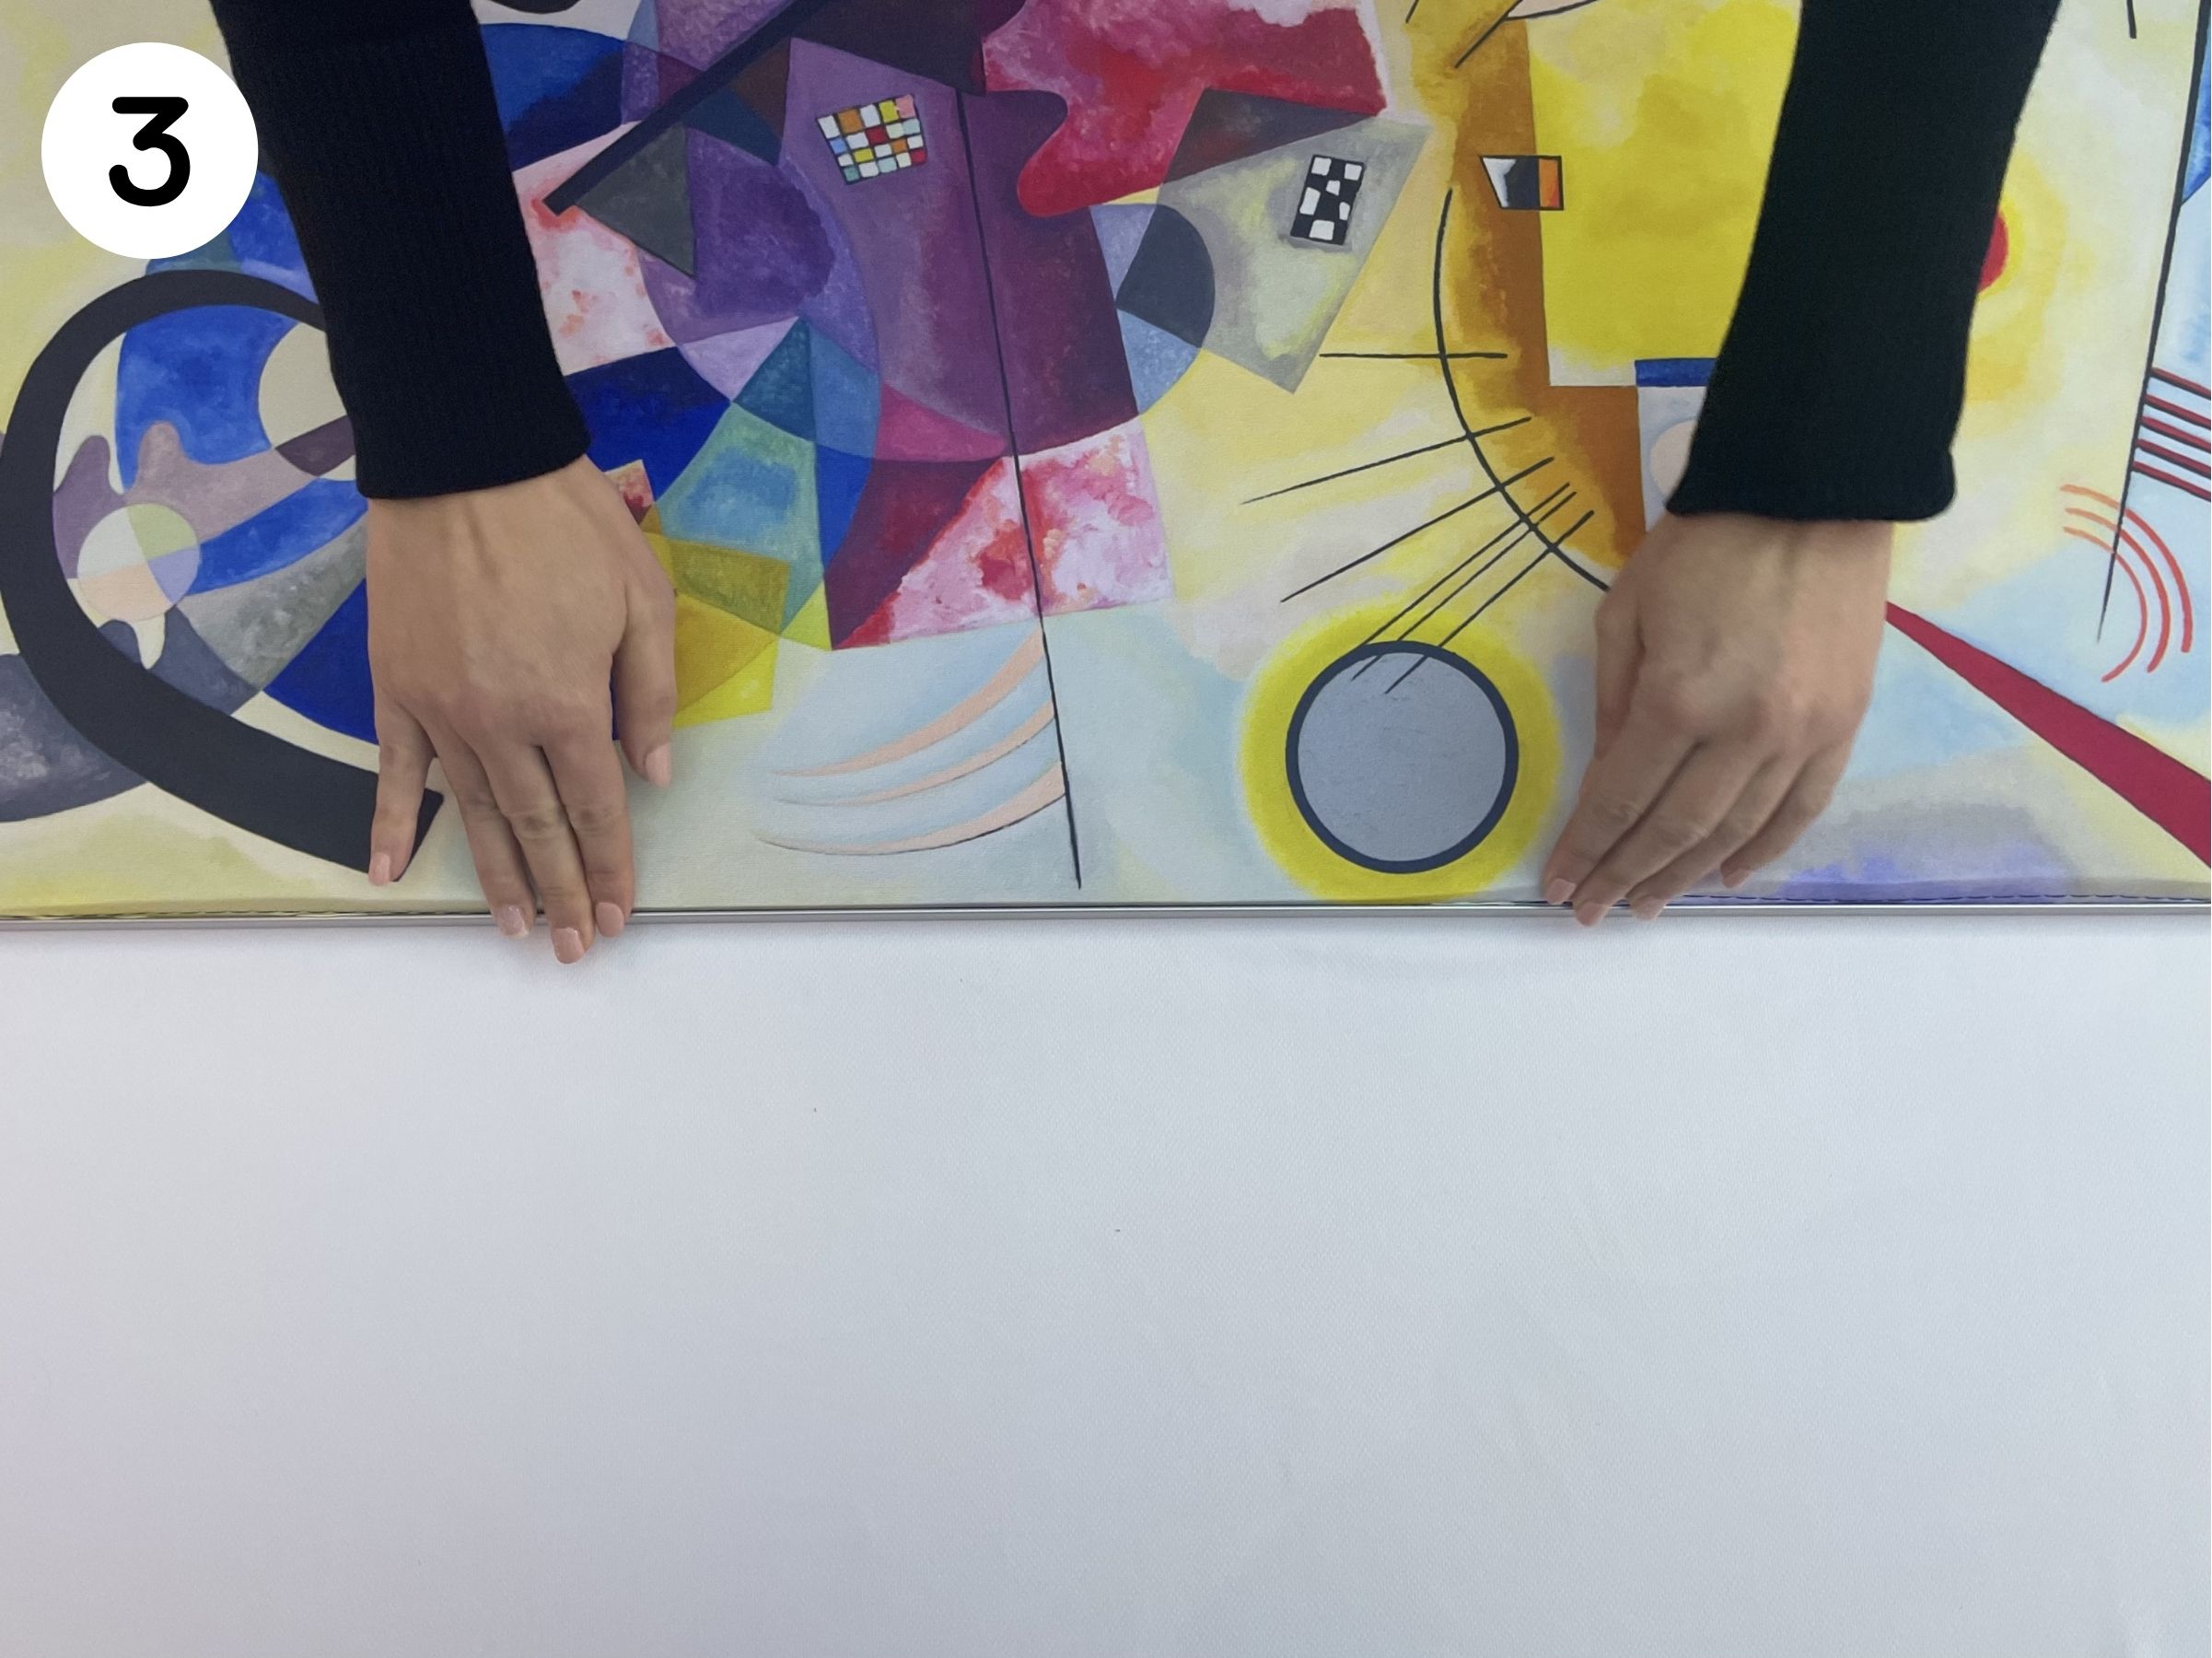
- Finish by smoothing the perimeter of the fabric print so that the silicone is pressed evenly all over.
Note: To remove the fabric print, pull on the label for it to easily come off the frame.
Important: Please handle the aluminum extrusions carefully during assembly and installation. While we ensure proper sanding, careful manipulation is still required to avoid any incidents.
(The parts may vary slightly from those shown in the photos due to manufacturing differences.)